FREE STANDARD SHIPPING, ALWAYS
13 Easy Picture Hanging Hacks To Uplevel Your Wall Decor
Published 10/25/24
Advice
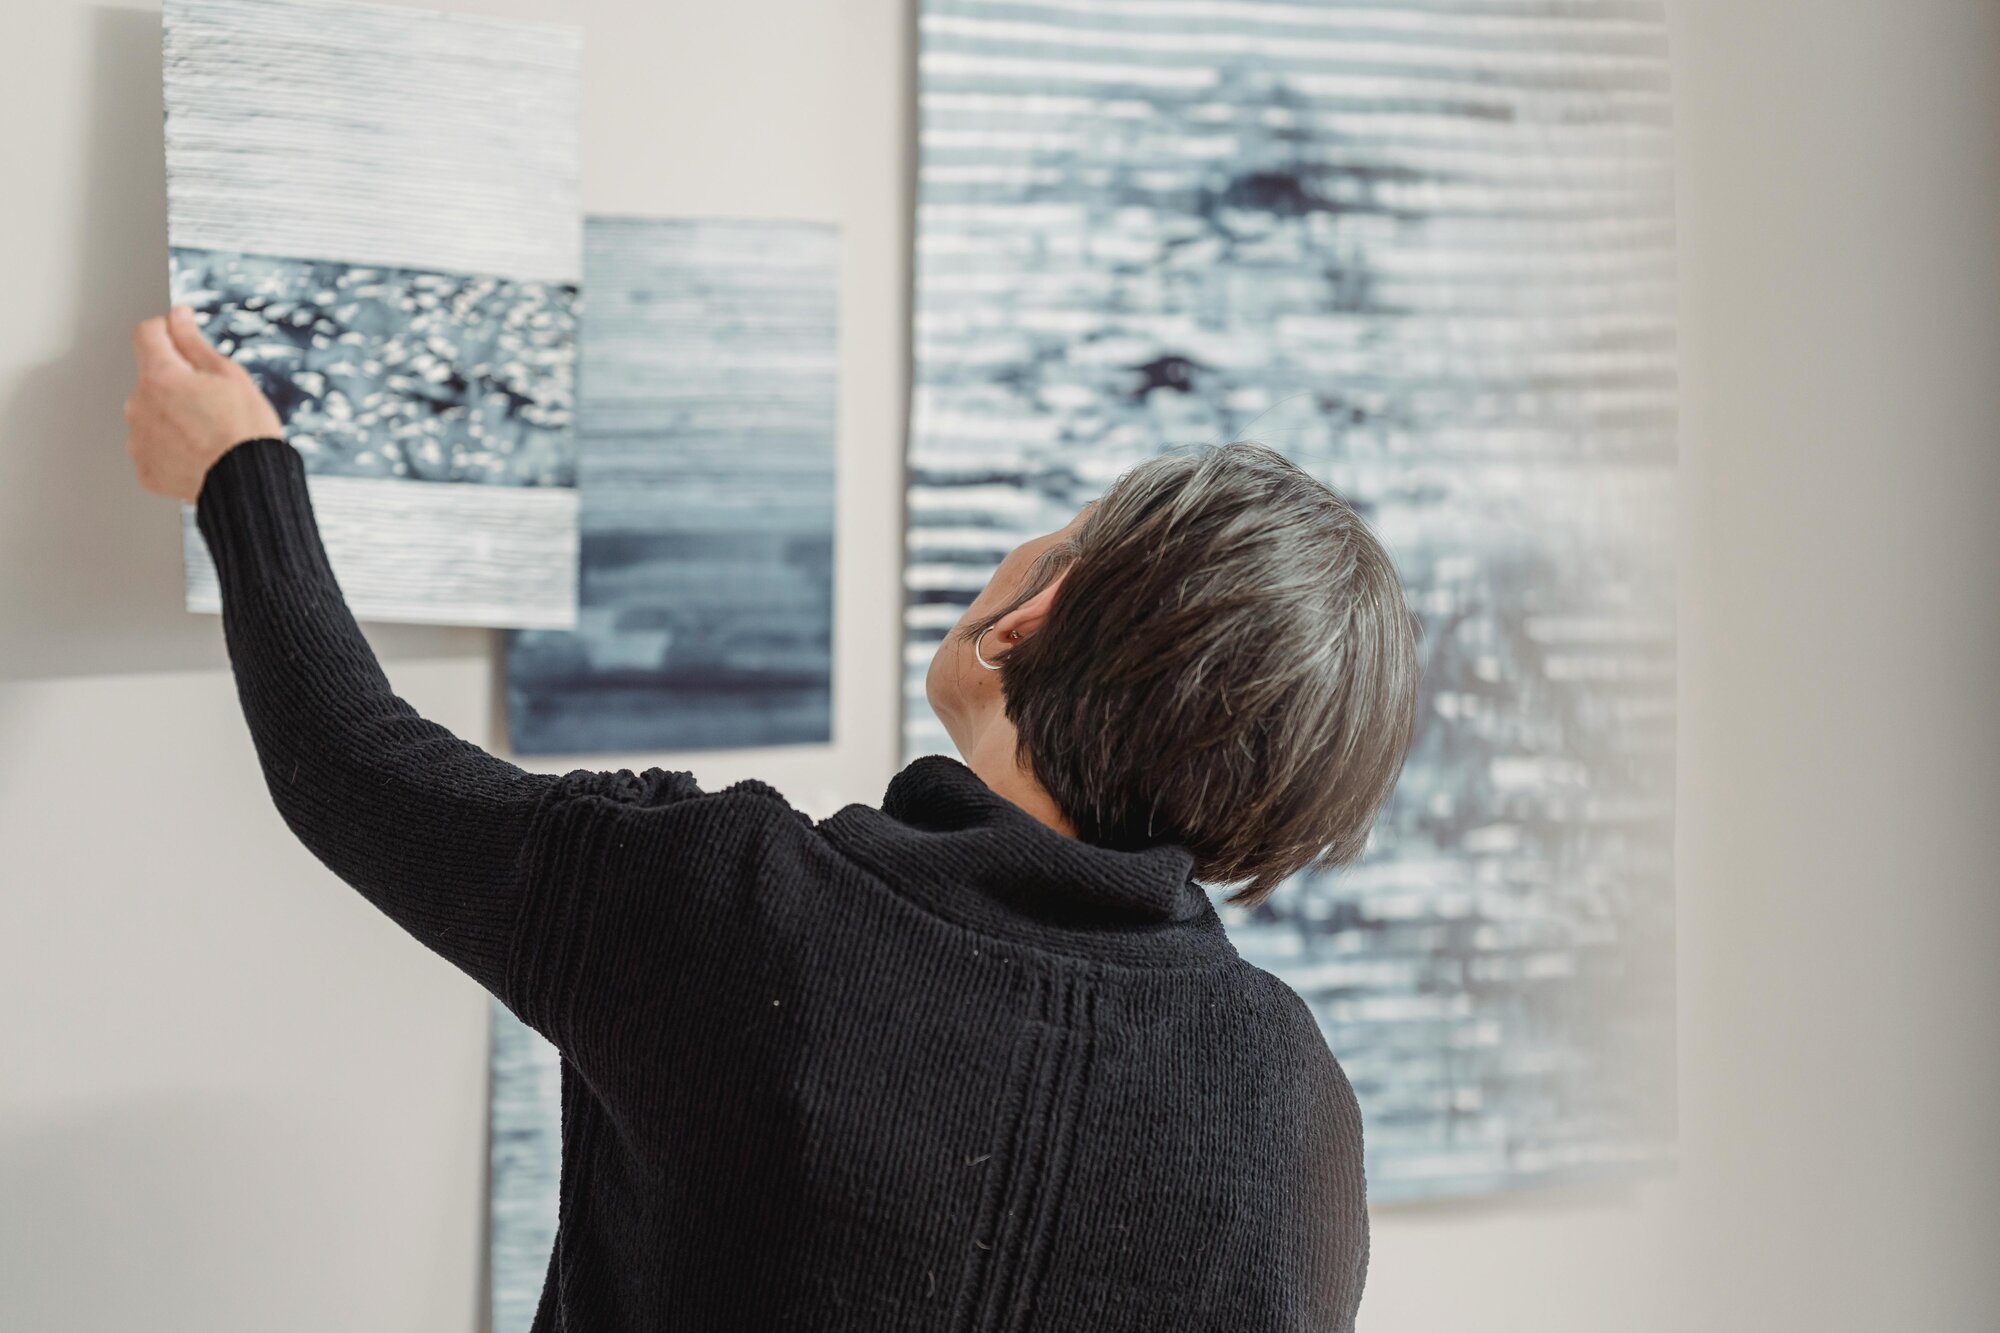
Nothing throws off your home decor more than having crooked wall art hanging from your walls. On the other hand, nothing looks more polished and put together than thoughtfully curated prints, frames, and wall decorations displayed perfectly spaced and straight on your walls. If you’re a fan of the latter and want your space to look catalog-worthy, you’re reading the right blog! With these easy tips and picture hanging hacks, you’ll be a wall decor-hanging pro in no time.
13 Picture Hanging Hacks for Perfect Walls
1. Visualize Your Frames with Paper Templates
Avoid the frustration of moving frames around multiple times by planning ahead. Cut pieces of paper, newspaper, or wrapping paper to the size of your frames and tape them to the wall in the desired arrangement. This lets you play around with the layout until it’s exactly what you want. No holes yet!
2. Use Painter’s Tape for Perfect Spacing
The low-adhesive nature of painter’s tape makes it the perfect choice to use for a project like this. When hanging multiple frames or creating a gallery wall, use painter’s tape to mark where each frame should go. This ensures consistent spacing between each piece, making the overall look polished and professional. Make sure to take a step back and look over your arrangement before you give it the final seal of approval.
3. Level Up with a Level
Maybe the most important how to hang pictures hack, the level is your best friend when it comes to hanging things on your walls. Whether you have an actual level, a handy laser level, or a smartphone app level—each method is a foolproof way to make sure your wall art hangs straight as a pin.

4. Save Your Walls with Command Strips
If you’re a renter or just don’t want to commit to nails, Command Strips are a great solution. These strips hold frames securely and remove cleanly without damaging the walls—perfect for when you want to swap out your picture frames without leaving a trace. Just make sure the Command Strips hold the amount of weight you’re looking for.
5. The Minty Hack You Didn’t Know You Needed
Use toothpaste to mark the hanging hook on the back of your frames and press it against the wall. The mark left by the toothpaste will help guide you in hanging your frames. Weird… but works!
6. Start by Hanging Your Biggest Piece First
By starting with your centerpiece, you’re creating a focal point for your gallery wall. Building around it creates balance and symmetry. This method ensures that everything flows from the focal point and the arrangement doesn’t feel lopsided.

7. The Eye-Level Rule
How high should you hang your wall decor? As a rule of thumb, art should be hung at eye level, around 57-60 inches above the floor. This makes your decor easy to view and enjoy. If you’re hanging art above a sofa or piece of furniture, aim to leave about 6-8 inches between the top of the furniture and the bottom of the frame.
8. Make Sure to Anchor Your Heavy Frames
If you’re hanging a heavy piece, make sure to use the proper wall anchors or screws to keep it secure. Regular nails won’t cut it with heavier items, and drywall alone isn’t strong enough to hold substantial weight. This step is especially important for mirrors and oversized frames.
9. Group Your Frames in Odd Numbers
When arranging art or photos in groups, stick with odd numbers, like three or five. Odd-numbered groupings are more visually appealing and dynamic, giving your space a more curated, creative feel.
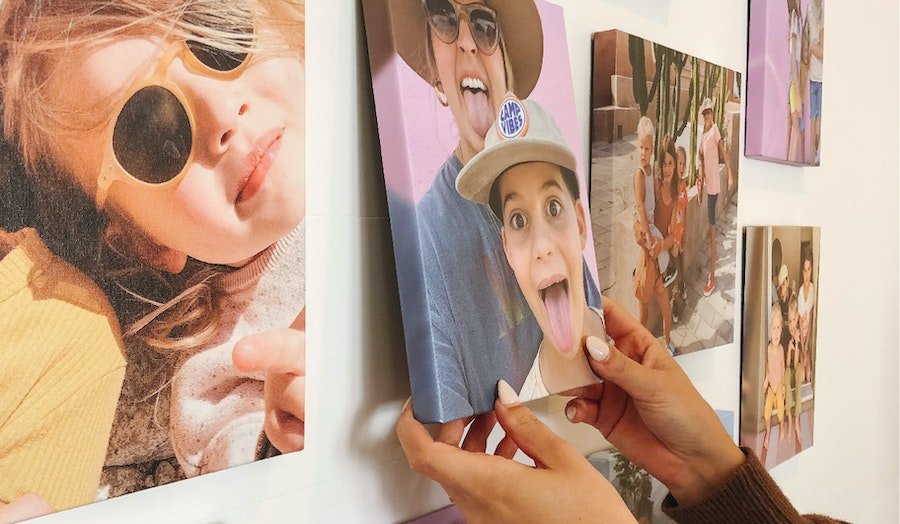
Create a Family Gallery Wall
10. Measure for Consistent Spacing
For gallery walls or symmetrical displays, a ruler or measuring tape is essential. Consistent spacing between frames is key to creating a cohesive look, so try not to just eyeball it. Measure out your distances for a professional finish.
11. Have Fun with Mixing and Matching Frame Styles
Don’t be afraid to mix things up! Combining different styles, colors, and sizes of frames adds depth and personality to your wall. Whether you like sleek modern frames or vintage designs, blending styles makes for an eye-catching display.

12. Watch Out for Sun Damage to Photos
Sunlight can cause photos to fade over time, so be mindful of where you hang them. If you want to hang photos in bright areas, consider using UV-protected glass in your frames to keep your memories looking fresh.
13. Use Shelves and Ledges
For a more relaxed, creative vibe, try leaning framed photos or artwork on a shelf or mantel instead of hanging them. This is also a great option if you’re working with a variety of sizes and want to create a layered, dynamic look. Also, it’ll save you the work of hanging each individual frame.
Wall Decor Inspiration Items
Now that you’re well on your way to being a wall decor hanging pro, here’s some inspiration on what to hang. Some popular options include:
Prints:
Hang your prints with or without a frame for a timeless classic! Instantly elevate and make your mark on a space by adding framed prints. You can frame your favorite family photos, and artwork you’ve curated throughout the years, or print free artwork to frame by browsing the National Gallery free prints.
Photo Grids:
You can create a photo grid with large or small uniform frames, or with Canvas Wall Tiles. Photo grids are a clean, modern way to display family photos or travel memories. Plus, they’re super customizable! Learn more about How to Make Wall Tiles.
Shelves:
Floating shelves and ledges are great for displaying small decor, books, plants, and artwork.
Tapestries and Wall Hangings:
Bring vibrancy to your space with a textured wall hanging or a colorful tapestry display.

Mirrors:
Mirrors are your secret weapon to make your space feel larger. They can also add a touch of elegance to your walls. Just make sure to hang them properly with the right anchors.
Gallery Walls:
Mix and match various art pieces, photo prints, and even objects like plates or woven baskets to create a personalized gallery wall.
Picture Hanging Hacks by Room
Different rooms have different decor needs! Here’s how to nail (pun intended) your wall decor in each room.
- Living Room: Large statement pieces work best here. Consider one large art print above the sofa or a gallery wall filled with printed family photos and travel prints. Plus, create a coffee table-style photo book filled with your most memorable moments, favorite artwork, or favorite family photos for a one-of-a-kind piece of home decor guests will love.
- Bedroom: Your bedroom should be your place of refuge. Keep it simple and cozy with just a few meaningful pieces above the bed or dresser. Stick to a soft color palette for a tranquil vibe.
- Kitchen: Opt for fun, quirky pieces like family recipe books, or a photo grid of family memories to bring warmth and personalization to your space.
- Hallway/Staircase: This is prime real estate for a gallery wall! Narrow hallways and staircases can benefit from vertical pieces to draw the eye upward.
- Bathroom: Go for small, moisture-resistant pieces like framed art or quotes. You can even hang some plants and art above the toilet for an unexpected touch.
- Kid’s Room: Get creative! Fun, colorful art, framed children’s drawings, or photo prints of their adventures will make their space feel extra special.
Make it Personal with Printed Family Photos
Now that you’re ready to decorate your walls like a pro, it’s time to get personal. With Chatbooks photo prints, you can turn your favorite memories into high-quality prints perfect for any frame and room. Whether it’s a gallery wall filled with family moments or a single statement piece, photo prints make it easy to create something meaningful. Plus, don’t forget to grab a Chatbooks photo book to go along with your stunning new wall decor—it’s the perfect way to keep all your memories off your phone and safe in one place.
Related Products: Photo Prints, Wall Tiles, All Photo Books
More Like This:
How To Make Baby Footprints and Handprints
Custom Photo Gift Ideas for the Whole Family
Fun Family Road Trip Photo Ideas