FREE STANDARD SHIPPING, ALWAYS

25 Creative Ways To Make a Staircase Gallery Wall
Curate your own gallery wall, your way—showcasing your memories, art, and style with these tips!
Posted 10/11/2024
Advice
Your home is your canvas to express your style, taste, and unique family story, so of course, you want every detail to feel just right. Creating a staircase gallery wall is the perfect statement piece to welcome all that enter. It’s a fun way to add a personal touch to the walls you live in and look at every day. But, it can feel like there’s a lot to consider when deciding to decorate such a heavily trafficked area in your home. You may be asking yourself questions like: Who will see it? Will there be an overarching theme? What type of design style should I use? And, most importantly, how should I start?
The good news? It doesn’t have to be so intimidating! A gallery wall is one of the easiest ways to add a personal touch to your space, no matter your style—whether you're into beachy boho, dark academia, eclectic, or minimalistic vibes. Best of all, it’s not permanent! You can mix, match, swap, and update your pieces as often as you like. Plus, spackle and paint make any "oops" moments easy to fix. Plus, with these handy tips, tricks, and inspiration, you’ll come out of this a staircase gallery wall pro.
Staircase Gallery Wall Layouts Made Easy
How-To Plan and Hang Your Staircase Gallery Wall
1. What You'll Need
- Tape measure
- Pencil
- Eraser
- Painter’s Tape
- Hammer
- Nails
- Command strips (make sure you have the ones with the correct weight limit!)
- Step ladder
- Level (this laser level is super handy)
- Wrapping paper
- Good music (ok you don’t need this one, but it helps!)
2. Measure
Use your tape measure to measure your wall from top to bottom. Grab a handy dandy notebook to sketch out your measurements. Seeing it sketched out will help you plan the area you want your gallery wall to cover.
3. Create an Outline on the Floor
Using those same measurements you just took, lay painter's tape down on your floor mirroring the length and width of your staircase wall. This will allow you to map out where you want everything to go and will save you from many spackle jobs.
4. Decide on a Layout
The fun part begins! Have fun laying out your frames and artwork to get the look you want to achieve. Some good rules of thumb are:
- Keep your frames 2-3 inches apart from each other to keep it looking cohesive
- Keep in mind the size of your wall, the larger the wall, the larger your frames should be, and vice versa
Once your setup looks good, snap a pic of it.
5. Sketch it Out
Now, use that picture you just took to create a template of your future staircase gallery wall. Use wrapping paper to sketch out and tape it to the floor and make sure it lines up with your painter’s tape outline for correct placement.
6. It’s Wall Time
Get out your step stool, level, and wrapping paper sketch to hang it on the desired wall. Take some extra time to make sure it is completely level to avoid any frustration. Take a step back and revel in your soon-to-be beautiful gallery wall.
7. Start Hanging
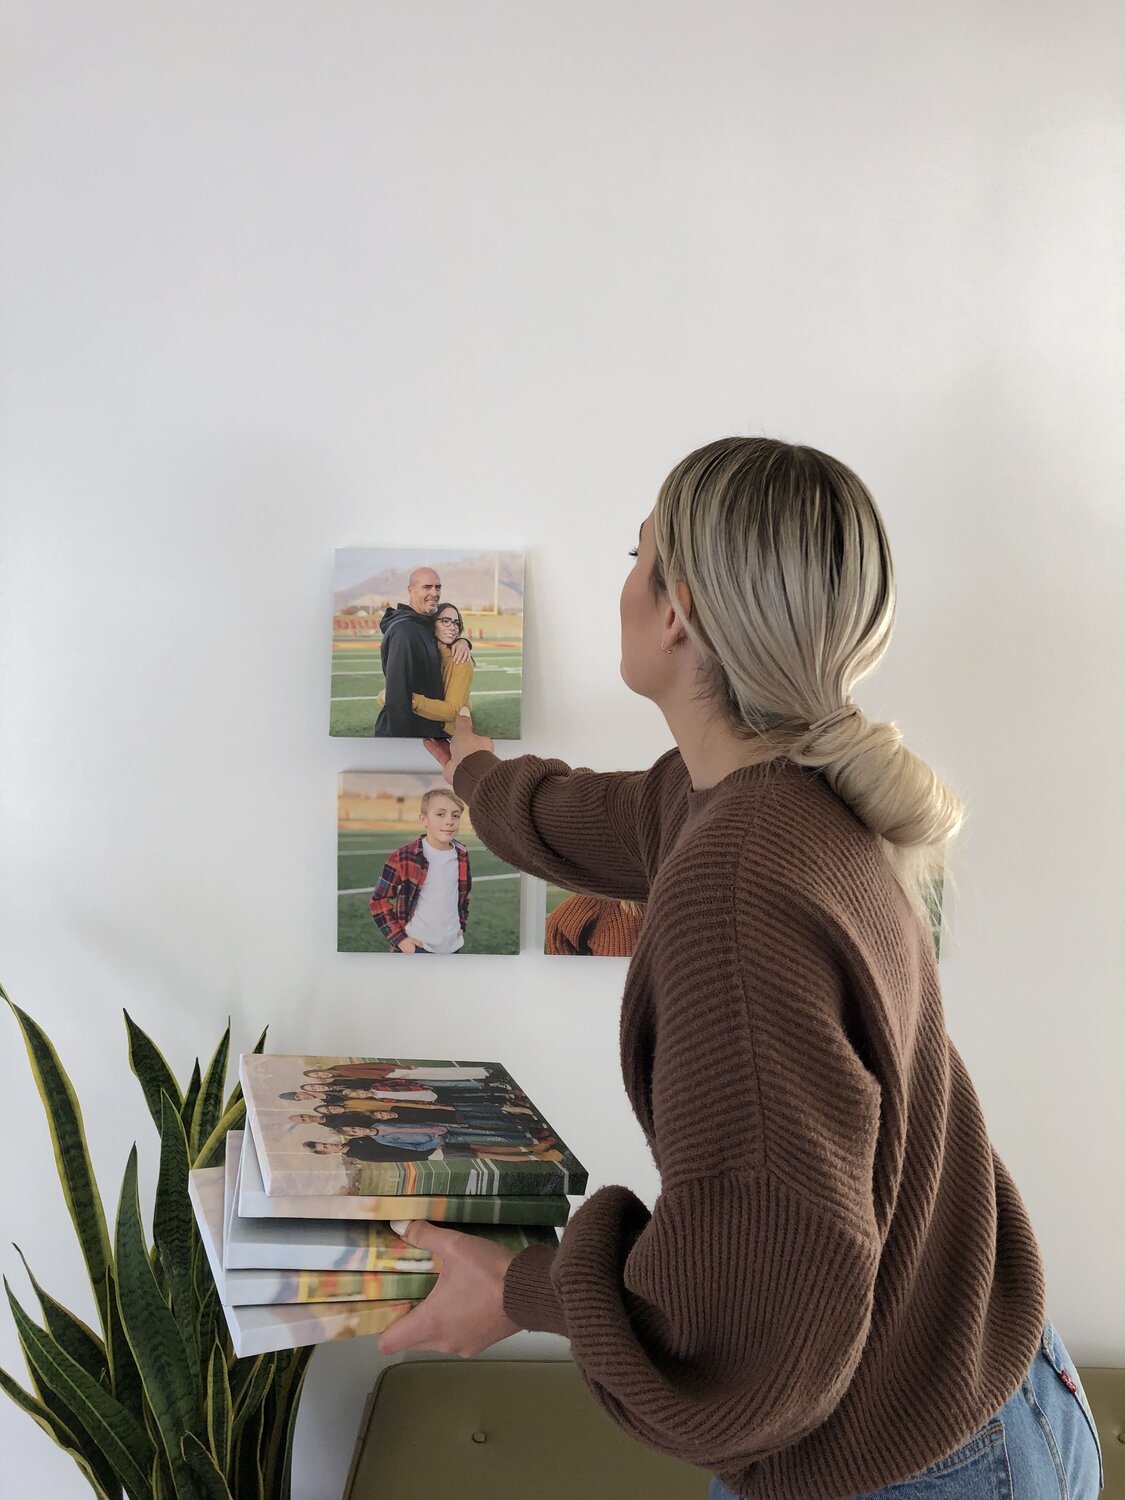
Carefully start hammering your nails into each respective frame spot. Take your time to ensure that each piece sits exactly how you want it to. Pro tip: for extra security on heavier frames, use command strips in addition to nails. These will make sure your pieces will not budge over time and movement. Similarly, this museum wax is great for putting on the corners of frames and on delicate items like porcelain. Plus, it won’t damage your walls!
How high should you hang pictures? This helpful guide will tell you everything you need to know.
Things to Consider
8. Leave Space for Growth
Leave some space for adding more photos over time, especially if your gallery wall is about chronicling family memories. As new family members are added, or as your children grow, you’ll want to make sure there’s a spot for them on your staircase gallery wall.
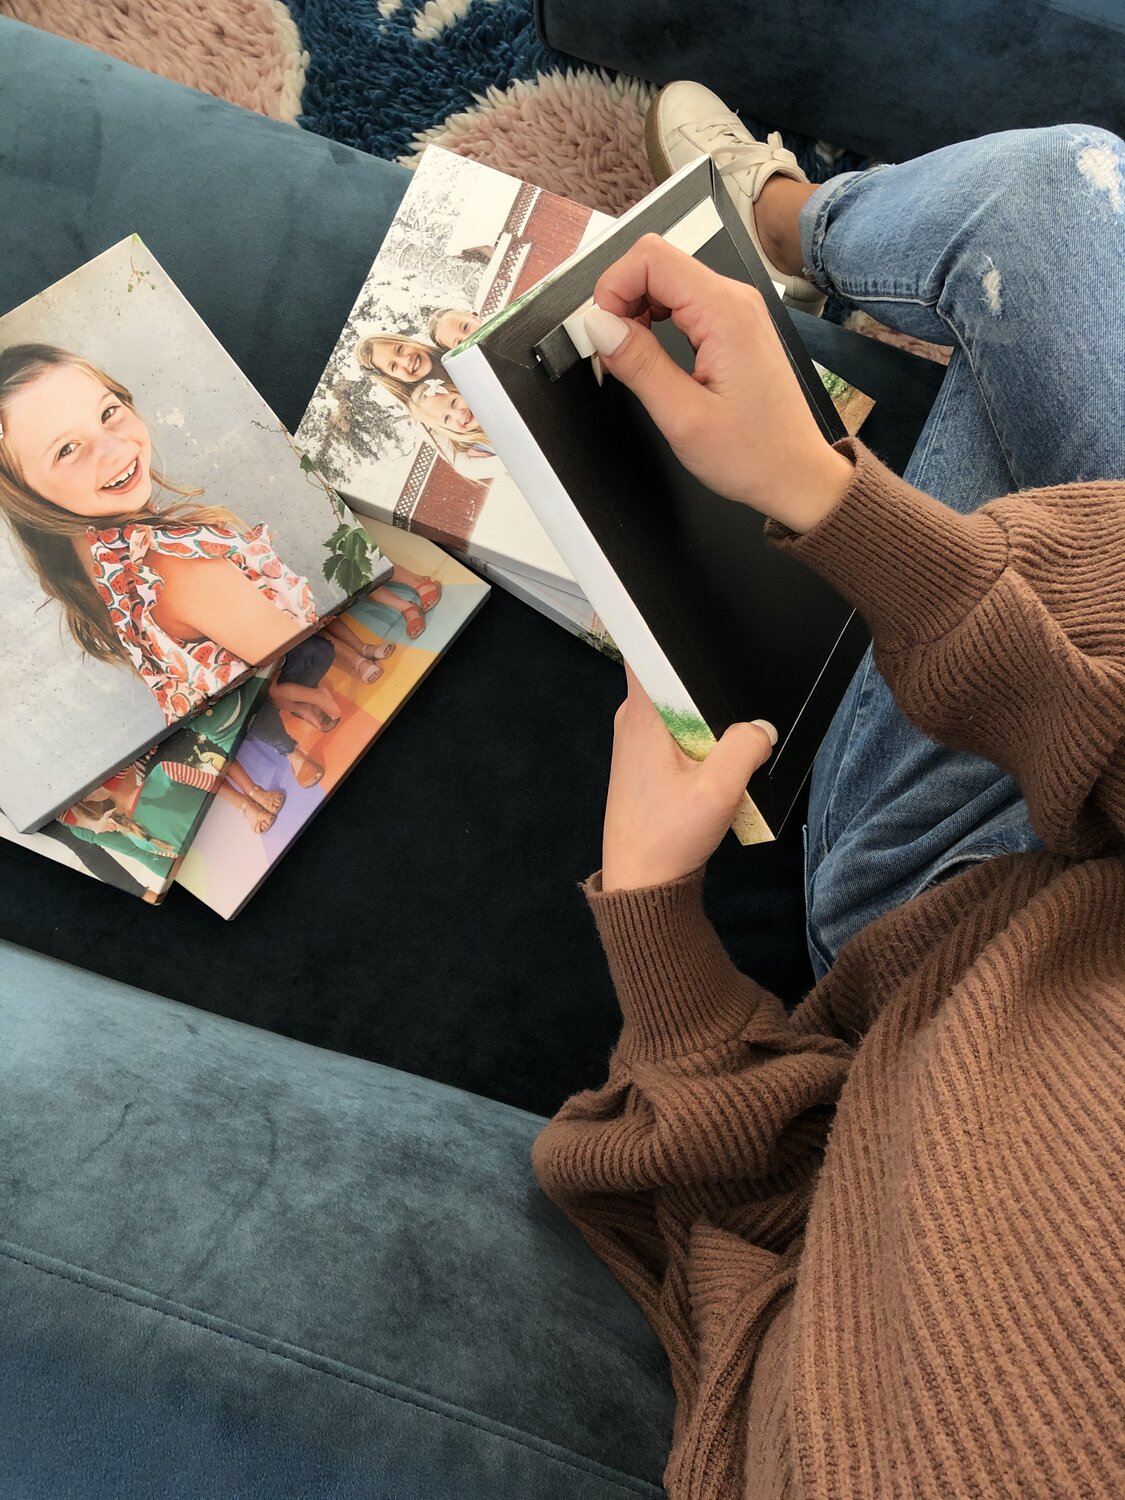
Pro tip: Chatbooks offers a really easy way to print your family photos on durable cardstock. You can also choose to receive multiple prints throughout the year so you can swap your favorite photos seasonally, or as your family grows.
9. Add Lighting
Spotlights or sconce lighting along the staircase can highlight your gallery wall and bring attention to your favorite pieces. It instantly elevates your gallery wall and will also come in handy when going down the stairs for a drink of water in the middle of the night. Think à la Metropolitan Museum of Art style—in your home.
10. Statement Piece at the Top
Anchor your gallery wall with a larger statement piece at the top of the stairs to draw the eye upward. And don’t be afraid to commit, remember you can always switch it out.
Get Started on Your Family's Staircase Gallery Wall
Fun and Stylish Ideas for Your Staircase Gallery Wall
11. Family-Centered Gallery
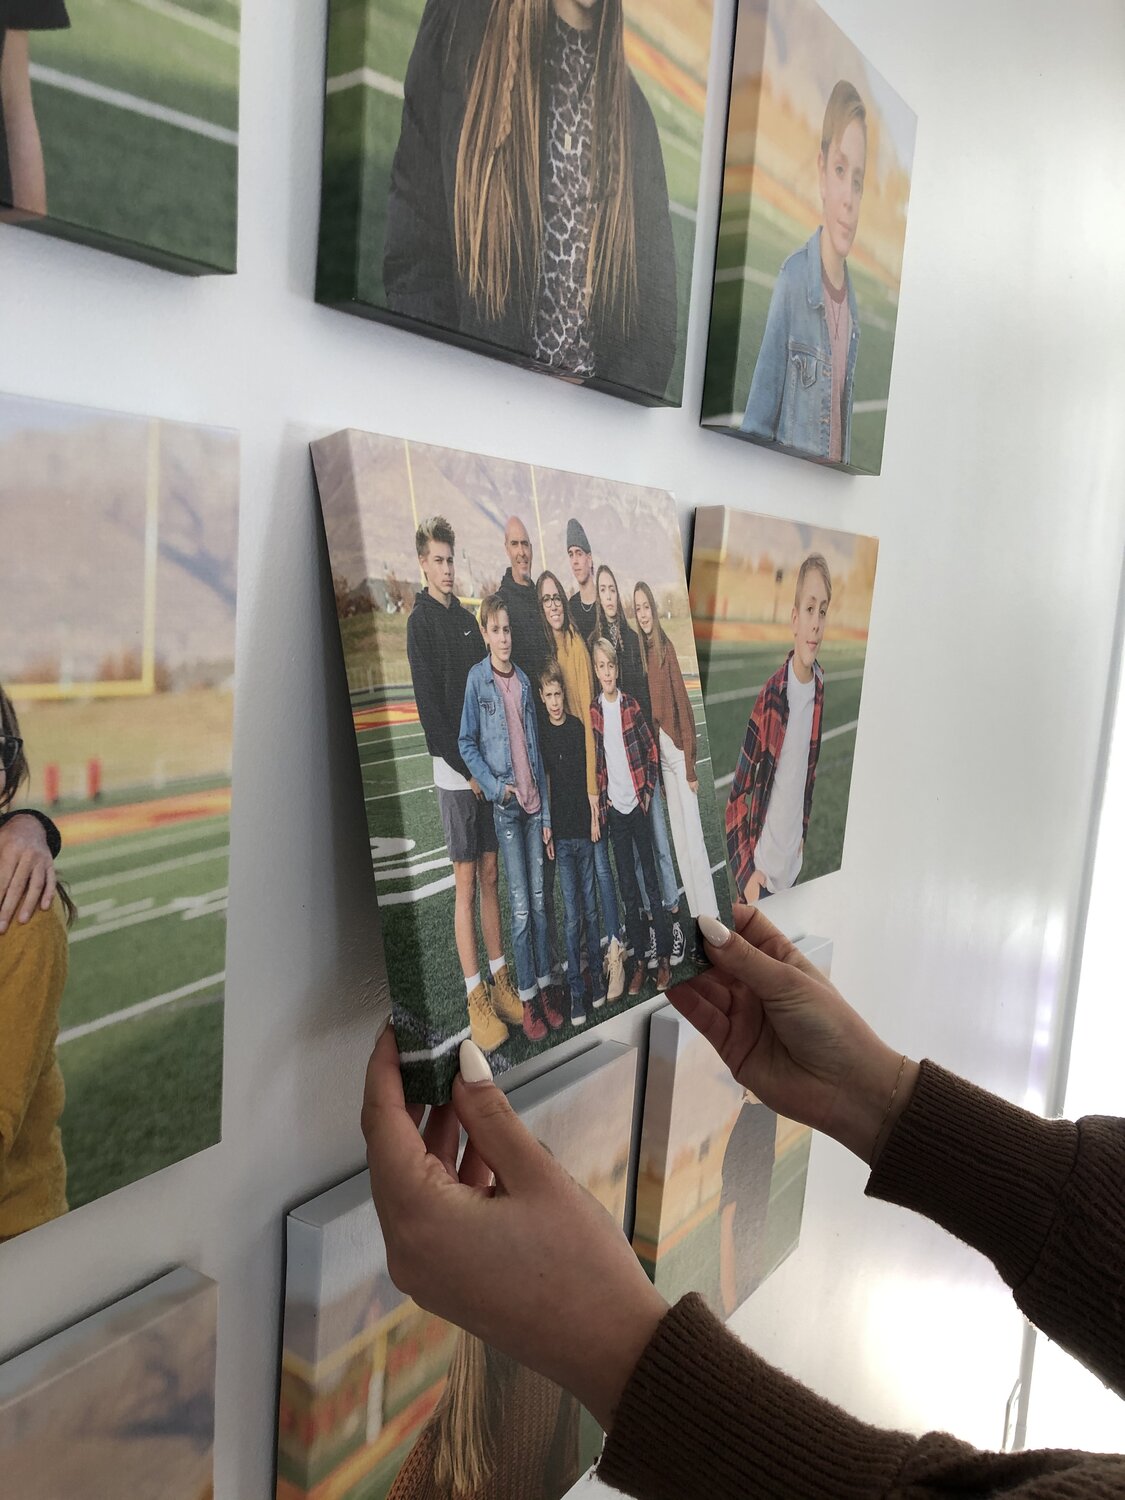
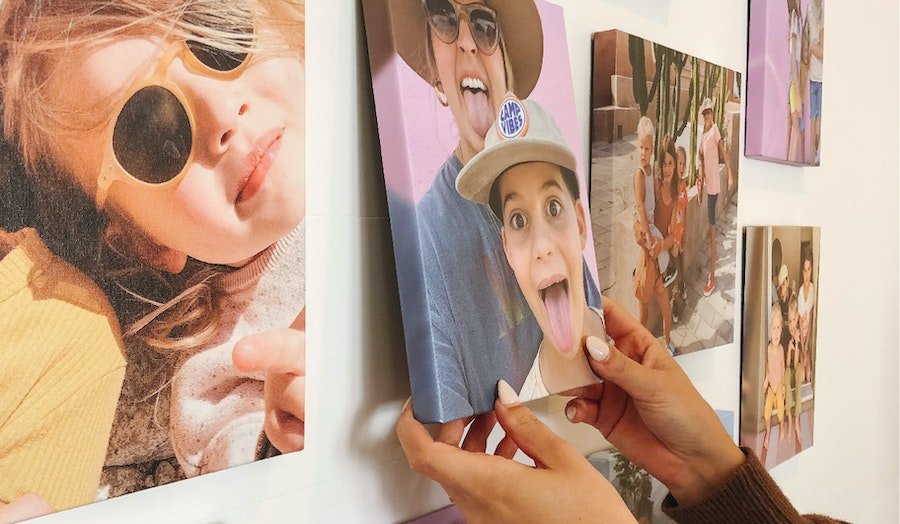
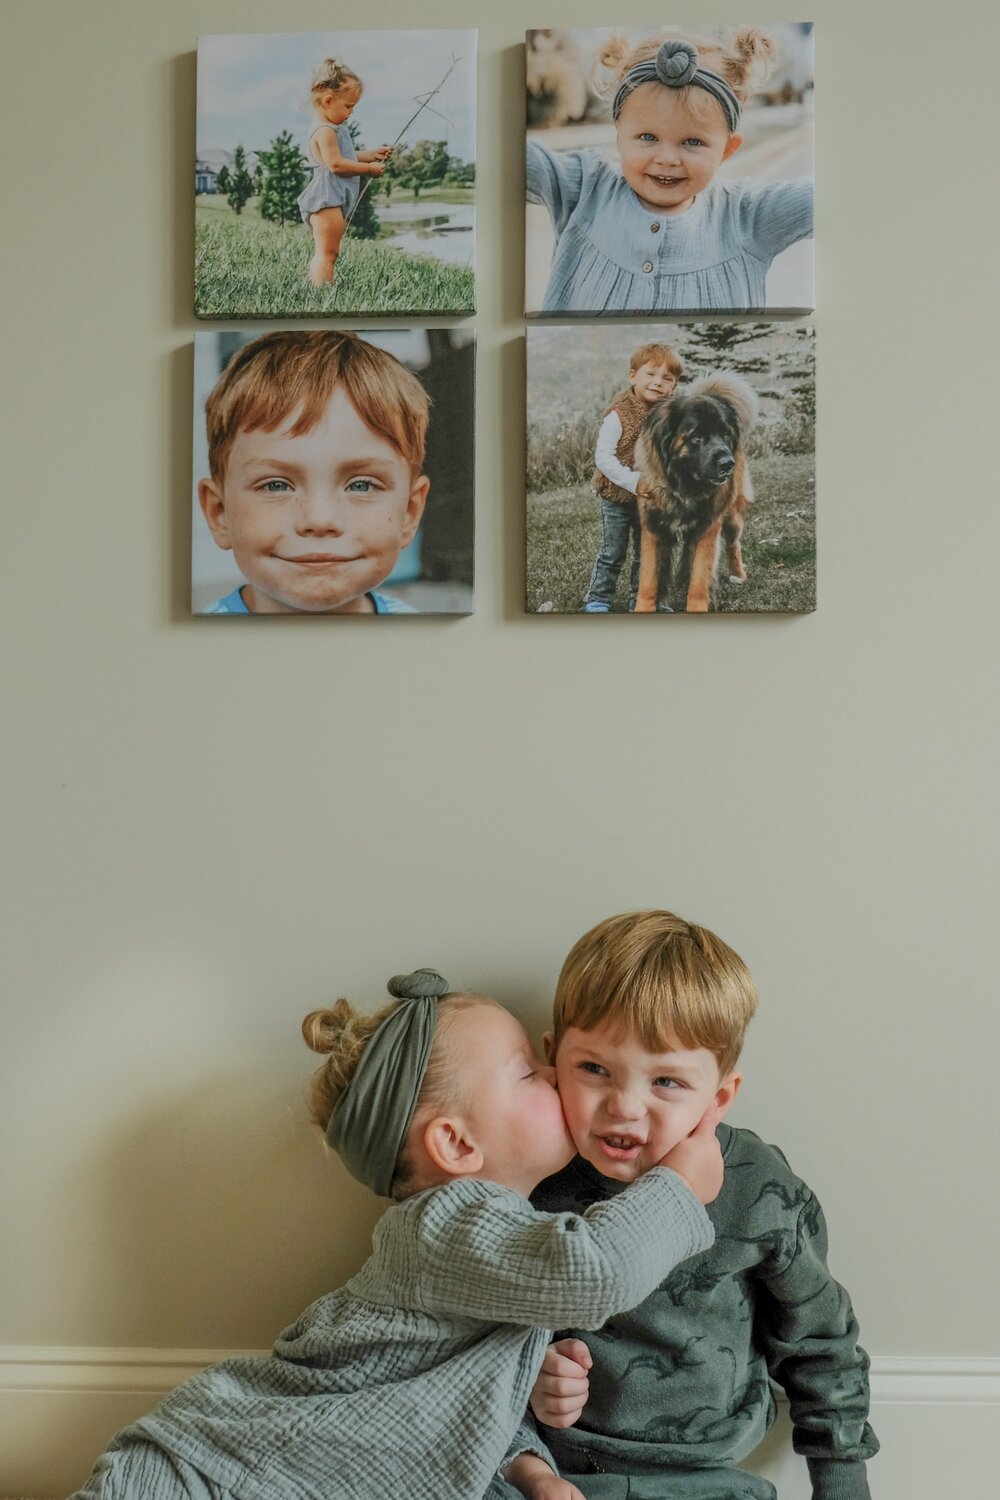
Dedicate your gallery wall to family photos through the years—perfect for displaying wedding photos, baby pictures, and candid moments. Chatbooks offers Canvas Wall Tiles and Premium Photo Prints so you can print and display your favorite family photos.
Pro tip: Do you have lots of old family photos you don’t know what to do with? Here’s How to Turn Family Photos Into a Lovely Photo Book.
12. Incorporate Personal Memorabilia
Don’t limit yourself to photos. Add sentimental items like postcards, love letters, or travel souvenirs for a unique touch.
Also, here’s some other ways you can save your favorite cards and letters from your loved ones.
13. Incorporate Inspirational Quotes
Mix in framed quotes or words of wisdom that reflect your family values or personal motto. You can find or create graphics of your favorite quotes and print them on Canvas Wall Tiles or photo prints you can frame.
14. Gallery Wall with Kids' Art
Add a personal, playful touch by including your kids’ artwork in colorful frames. It adds personality and charm.

Print Your Family's Adventures, Smiles + Everyday Moments
15. Add in a Monogram or Two
Incorporate your family members’ initials or monograms into your gallery wall, making it uniquely yours. Use photos or letters made out of mixed materials like wood or metal.
16. Incorporate Mirrors
Adding mirrors among your photos and art creates dimension, reflects light, and makes the space feel larger.
17. Add Art Prints
Include a few art prints or abstract pieces alongside your personal photos to give the wall an artsy vibe. The National Gallery of Art offers free art prints. You can easily print them on high-quality cardstock with Premium Photo Prints for an elevated look.
18. Incorporate 3-D Elements
Add dimension with three-dimensional pieces like small sculptures, baskets, or decorative shelves to break up the flatness of the frames.
19. Gallery Ledges
Use ledges instead of hanging frames directly on the wall. This allows for easy rearranging and adding new pieces over time.
20. Mix in Textures
Incorporate different textures like fabric pieces, wood art, or woven designs to break up the flow of flat frames.
Play with Different Layout Designs
21. Geometric Grid Layout
A grid layout with equal spacing between frames gives the wall a modern, structured look that works well in contemporary homes. Think, clean girl minimalist vibes.
22. Go Asymmetrical
For an eclectic cool vibe, arrange frames asymmetrically for a free-form look that feels curated yet casual. Plus it gives you the freedom to not have to measure anything.
23. Symmetrical Spacing
For a balanced look, keep equal spacing between all frames. This gives the gallery a more organized and harmonious appearance.
Decide On a Framing Style
24. Mix Frame Styles
Create a dynamic look by mixing different frame styles and finishes—try a combination of black, white, wood, or metallic frames. Thrift stores will be your best friend.
25. Use Uniform Frames
For a clean, cohesive look, choose frames that are the same size and style. This is great if you want a more minimalist approach.
26. Vary Frame Sizes
Mix small, medium, and large frames to create visual interest. Varying sizes adds movement to the wall and keeps the eye engaged.
Pick Your Color Palette and Theme
27. Tell a Cohesive Story
Base your gallery wall around a particular theme, such as family photos, nature prints, or vintage artwork.
28. Use a Monochrome Palette
Sticking to one color palette, whether neutral or bold, can tie your gallery wall together for a more refined look.
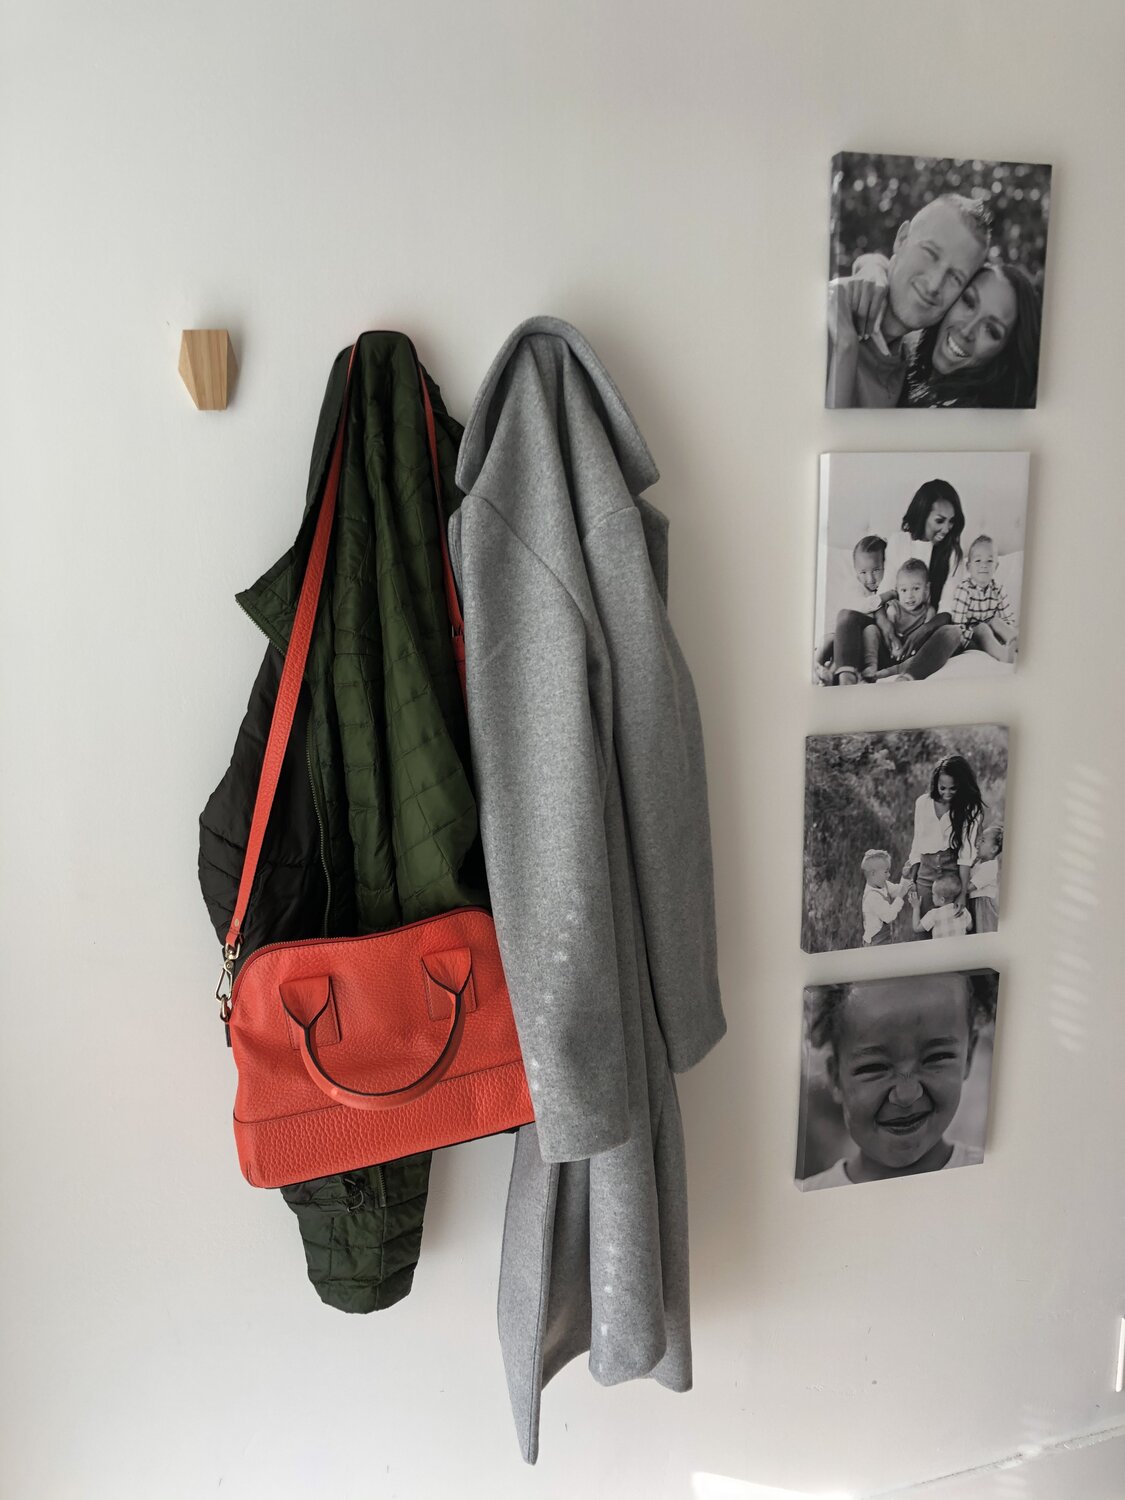
29. Go with Black-and-White
Create a sleek, timeless look by using black-and-white photos only. Pair them with either black or white frames to keep the theme consistent.
30. Go with Color
Instead of black-and-white, go bold with vibrant, colorful prints and frames for a lively, cheerful gallery.
Have fun with creating your staircase gallery wall! It’s a creative way to personalize your home, curate artwork you love, and show off your favorite family photos. Canvas Wall Tiles and photo prints make it super easy to display the photos you love the most. Take it up a notch with a stylish deluxe coffee table-style photo book of your favorite memories. Whether you prefer a sleek, minimal design or an eclectic collection of frames and art, these tips will help you achieve the perfect look.
Readers are loving

70 Romantic Wedding Vows
35 Best Parenting Quotes That Perfectly Sum Up Family Life

65 Sympathy Messages To Use In a Condolence Card