FREE STANDARD SHIPPING, ALWAYS
How High To Hang Pictures: Tips For The Perfect Gallery Wall
Published 8/25/20
Advice
Figuring out where and how high to hang photos in your home is an art form. Place photos too low on a wall and they can make your room feel shorter than it actually is. Secure your pictures too high and the blank wall underneath will require an added piece of furniture. And don’t even get me started on the various nails, hooks and hardcore tapes you have to choose from to actually get your pictures to stick — of course, if you have Chatbooks Wall Tiles that’s not an issue (wink, wink). Improve your picture hanging game ASAP with these pro tips and tricks for how to hang photos and arrange gallery walls.
Where to Hang your Photos
First things first: Choose the space where you want to hang your photos. Maybe it’s in your stairway, above your sofa, in a bedroom, or just on an empty wall. Wherever you choose, measure the height and width of your wall and of your photo. This way you have a clear idea of what space you have to work with and where your photo can fit within that space.
What to Use to Hang your Photos
The size and weight of your picture is going to determine how you will hang it. It’s also important to consider factors like whether or not you want to create holes in your wall and if you’re hanging your photos on drywall or wood.
If you are going to hang a small picture frame, you can use a simple adhesive hook or nail. This will keep your walls from having huge holes in them. A hammered nail will have to be hammered in downward instead of straight in for the picture to rest securely (which means a slightly bigger hole).
If you have a photo that weighs more than 10 pounds and you will be working with drywall, using some sort of drywall anchor and screw is going to be your best option. A drywall anchor should have plastic wings that expand out behind the wall to keep your photos secure.
If you are working with a plaster wall and a photo that is heavier than 10 pounds, you will also use an anchor screw but most likely one without wings for a better grip on the wall. You will want to drill a hole the same size as the anchor, push the anchor into the wall, and then use your drill to secure a screw in the anchor. You can then hang your photo from the screw!
It’s also important to note that most store-bought tools will come with instructions. Be sure to read them carefully and follow the diagrams they list.
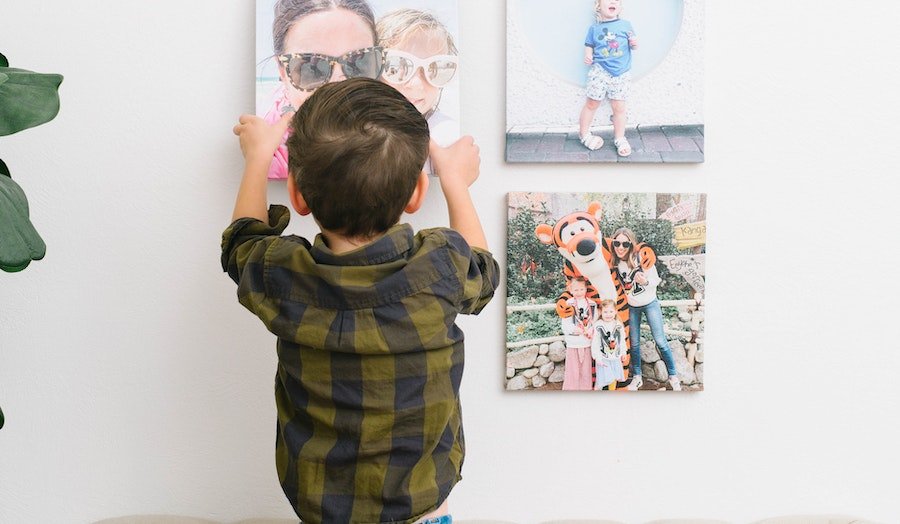
If you do want to totally eliminate this step of using tools, our Wall Tiles are seriously the way to go. Just peel and stick (seriously!). Not feeling your Wall Tile placement? Just pull it off and re-stick it somewhere new. No walls will be harmed in the process of finding the perfect placement.
How High to Hang your Photos
Generally, between 57 and 60 inches from the floor is a standard height for hanging art. Depending on how tall or short your family is, you can adjust those measurements accordingly. If you have taller ceilings (8+ feet), hanging your photos a bit higher than 60 inches will make your pictures look a little more centered.
Be aware of whether or not you are hanging art in a room where you are typically sitting versus standing. If you are hanging art in a living room or dining room, be conscious of being able to see the art from sitting down. If you are hanging art in an entryway or hallway, consider that everyone will be standing and you will want to hang your art at eye level (57-60 inches off of the floor).