FREE STANDARD SHIPPING, ALWAYS
How to Hang a Picture: 10 Tips to Hang Photos
Published 11/12/24
Advice
You stand back after hanging that perfect picture frame, and it looks just right. Then, a few hours later, you walk by and… it’s crooked! Hanging photos and artwork seems simple enough, but getting frames to sit perfectly straight and in just the right spot can be tricky. If you’ve been there, you’re not alone. Follow these tips to get your pictures hanging straight, level, and in all the right places, so you can finally enjoy them without making any daily adjustments.
A Step-by-Step Guide on How to Hang A Picture
Step 1: Gather Tools and Materials
Before you start, make sure you have the essentials ready to go. Here’s a quick checklist of what you’ll need:
- Tape measure or ruler
- Pencil for marking spots on the wall
- Level to keep things straight (these laser ones make it super easy!)
- Hammer or drill
- Picture hanging hardware (this varies depending on what you’re trying to hang, see below for the specifics.)
Here’s a rundown on common picture-hanging hardware to help you choose the best option based on your frame’s weight, size, and existing mounting options.
- Sawtooth hangers are ideal for lightweight frames, attach easily to the frame’s upper edge and are best used with nails that have medium-to-large heads
- For larger frames with D-rings, bear claw hangers or traditional picture hangers are a great match
- Picture cord or wire works well for heavier art since the length of wire makes it easy to hook; just remember to factor in the wire’s bend when measuring and to check it periodically as it may loosen over time
- For large, heavy pieces, a French cleat offers incredible support, with two interlocking pieces that can hold up to 400 pounds
If you’re looking to have a range of hardware on hand, picture-hanging kits are a convenient option to consider.
Step 2: Mark and Measure the Spot
Decide where you want the center of the frame to be on your wall. Measure up from the floor and make a small pencil mark where the top of the frame will sit. Then, measure the width and height of the frame to find its center point.
Step 3: Use the “Hang Height” Formula
If you’re wondering how high to hang pictures, here’s a handy picture-hanging hack and rule of thumb: place the center of your artwork at eye level, about 57-60 inches from the floor.
- Find the height of your frame and divide it by two
- Subtract the distance from the top of the frame to the hanging point (or wire)
- Add this number to your initial height mark on the wall to get the perfect hanging spot!
Checkout this handy blog on How High to Hang Photos for more helpful tips!

Step 4: Check for Studs or Support
For heavier items, you’ll want to hang them directly on a wall stud for extra security. Use a stud finder to locate a solid spot in the wall. If there’s no stud, make sure to use anchors that are strong enough to support your frame.
Step 5: Hammer in Your Hardware or Apply Adhesive
For lighter items, picture hangers or adhesive strips work well. For heavier pieces, a nail, screw, or anchor might be needed. Gently hammer or drill in your hardware, making sure to keep your placement steady.
Step 6: Hang and Adjust
Finally, hang your frame! Use your level to check for straightness, and adjust as necessary. Step back and admire!
Tips for Perfect Placement
Now that you’re a master at hanging picture frames, here’s a helpful way to figure out where they’ll look best in your home. Here are some location recommendations to implement your perfect wall layout:
Living Room
Create a focal point above the sofa or television.
Bedroom
Hang photos that bring a sense of calm or relaxation near the bed.
Hallways
Long hallways are ideal for a gallery wall of family photos or memories.
Entryway
Greet guests with your favorite moments right at the door.
Dining Room
Frame food or nature photos to create a welcoming, stylish vibe.
Stairway
Create a stairway gallery wall to keep your walls interesting and inviting.

More Helpful Tips On How to Hang a Picture
For heavy items
Use wall anchors, double hooks, or sturdy hardware for heavy items. Don’t forget to use a stud finder to avoid damaging your drywall or breaking your frame!
For gallery walls
Plan your layout by arranging frames on the floor first, then take a photo for reference. Use paper templates of your gallery wall with wrapping paper and use measurements for precise hanging and spacing.
To hang a picture without nails
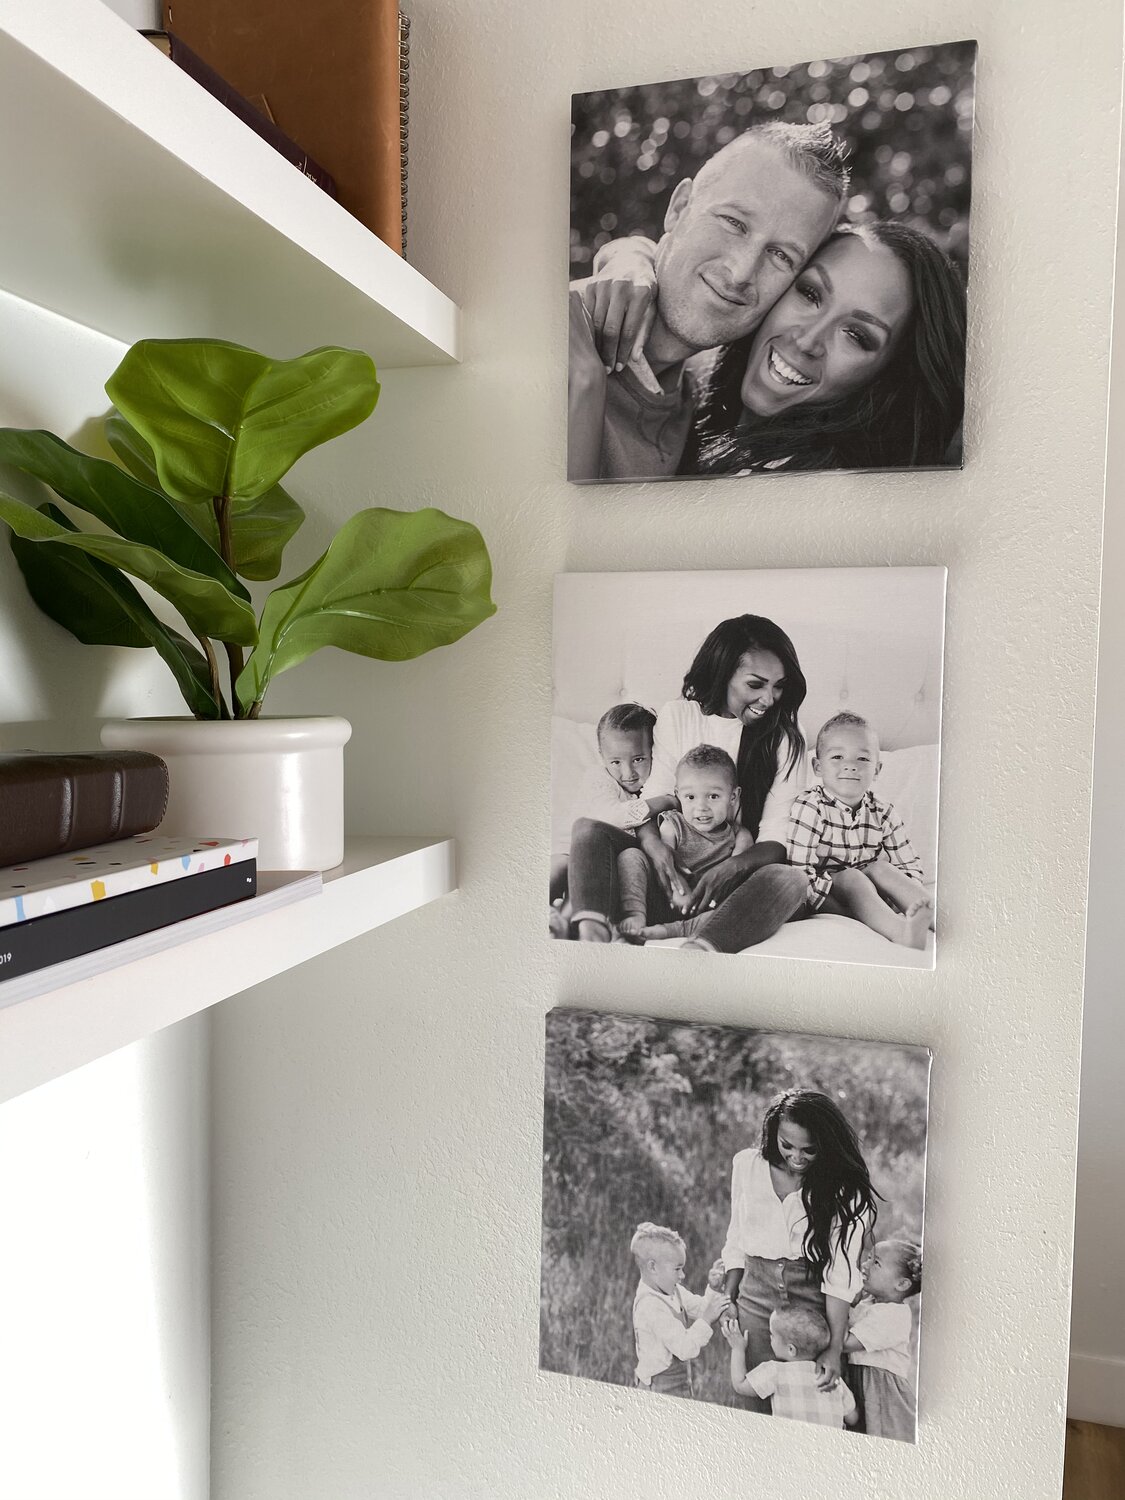
Command strips work wonders on lighter frames–perfect for rentals! Canvas Wall Tiles are a fun option to print your photos on easy peel-and-stick canvas that you can easily move around and swap without damaging your walls.
To hang up artwork by yourself
Use painter’s tape to mark where the bottom of the frame will sit on the wall. This helps guide you and keeps the frame level without a second set of hands.
Fun Ideas on What to Hang
With your new skills, you can add personality and style to any room! Here are some fun items to consider:
Photo Prints
Keep it personal with prints of family, friends, or favorite memories. You can easily swap out your favorite memories whenever you want—and hang your pictures without a frame.

Wall Tiles
Create a modern look with sleek, movable wall tiles. They’re lightweight and you can stick and re-stick to your walls up to 50+ times without nails or any damage.
Custom Artwork
Print your own photos as art pieces or try your hand at creating custom artwork. You can also print your own favorite works of art using the National Gallery Of Art’s free open image access.
Photo Book Centerpieces
Add an extra touch of personalization to your home by displaying your favorite memories in a deluxe coffee table-style photo book. You can also display photo books with exclusive designer cover designs, or a photo book collection with fun color combinations for guests to look through.
Enjoy the Photos in Your Home
Whether you’re hanging photo prints, wall tiles, or something entirely unique, these tips will make it easy to keep your pictures perfectly placed and straight every time. Have fun enjoying more time admiring your perfectly curated artwork and photos and less time adjusting and finagling your frames.
Related Products: Kids Monthly Mini Photo Books, Monthbooks, Gift a Photo Book Subscription, Family Photo Books, Baby Photo Books
Other Blogs You May Like
13 Easy Picture Hanging Hacks To Uplevel Your Wall Decor
25 Creative Photo Print Ideas That Don't Need a Frame
25 Creative Ways To Make a Staircase Gallery Wall
Perfect Personalized Gift Ideas for the Whole Family