FREE STANDARD SHIPPING, ALWAYS
Here’s The Easiest Way to Use the Photo Timer on Your iPhone Camera
Published 7/21/23

Photo
Tired of the classic, awkward arm stretch while taking a selfie? Or missing the bottom of your face in group photos because you're always the designated photographer? That’s about to change. Did you know your iPhone, and most smartphones, come with a self timer you can use to take the perfect photo? So, all you really need is a good tree branch, windowsill, or other random thing to prop your phone up, and voila, you have the perfect ghost photographer.
How to Use Your iPhone Camera Timer
As the saying goes, "Time waits for no one." But fear not, with the timer on your iPhone camera, you have full control over the seconds that tick away before your photo is captured. Just follow these simple steps:
- Open your camera app
- Tap the symbol that looks like this ^ at the top of the screen
- Swipe through the icons displayed at the bottom until you see a timer icon
- Tap the timer icon
- Select from 3s, 5s, or 10s
- Get ready to pose and say cheese
Using your iPhone camera is pretty easy and can help you take some stunning shots. If, at any time, you want to exit self timer mode, simply tap on the timer icon, which should appear as yellow, and select "Off."
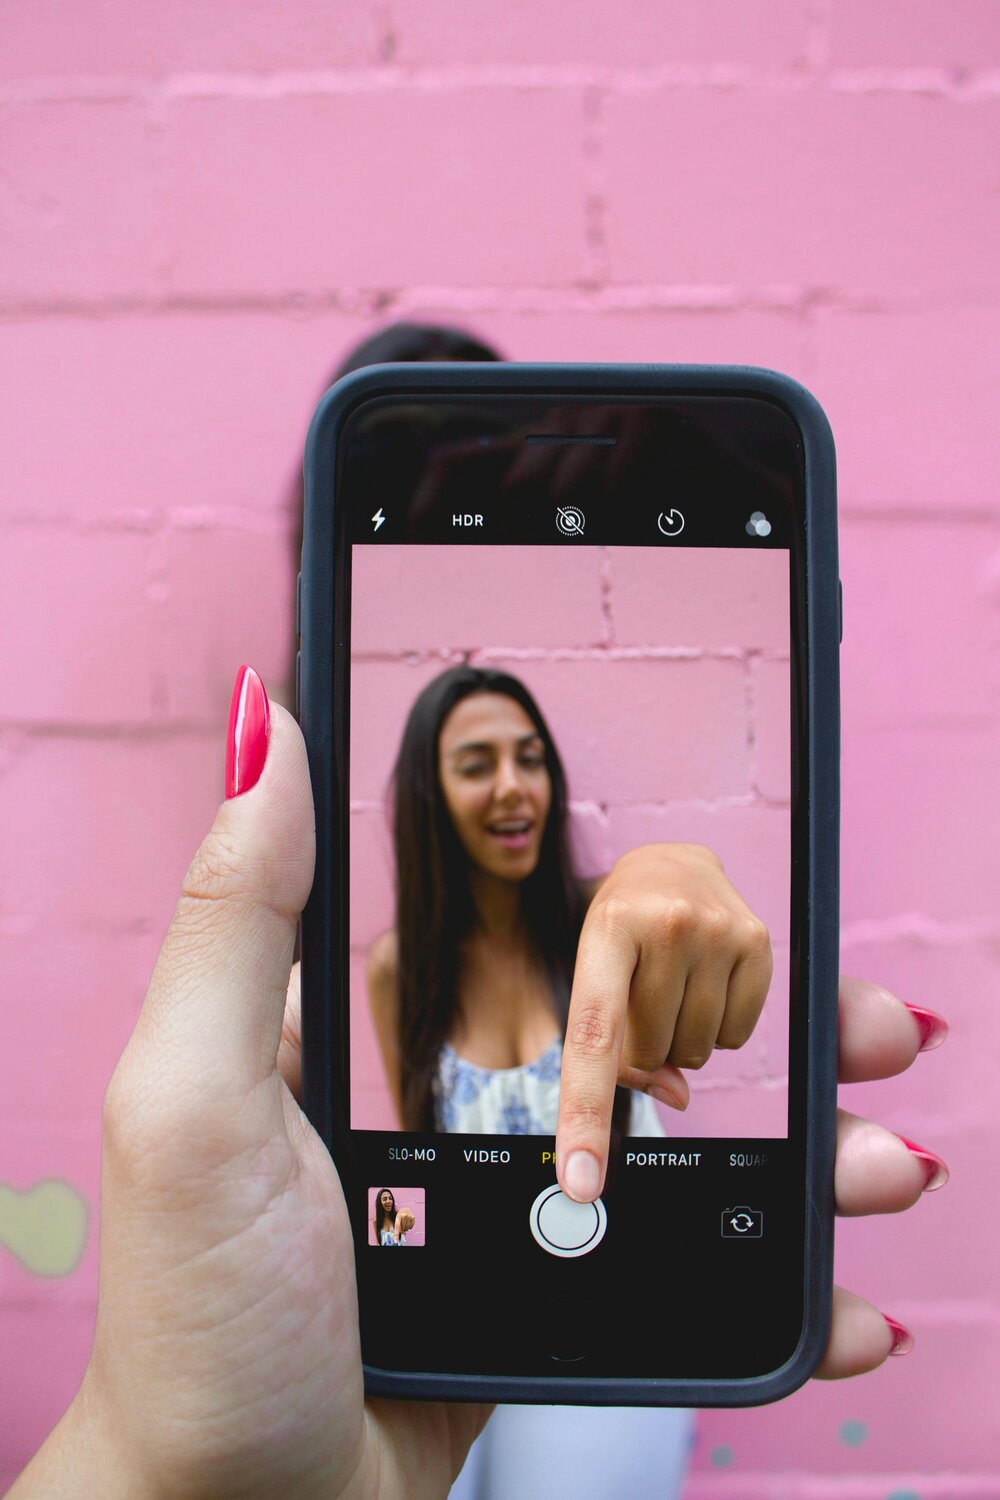
Set Timer on iPhone Camera for Night Photography
Pro tip: if you’re trying to achieve a clear and crisp night photo, this is the perfect time to use your iPhone camera timer as it eliminates any shaking or movement, which is essential for getting a clear photo in low lighting.
If you have a newer iPhone, your phone should automatically adjust to night mode in low lighting and you’ll see a small moon icon in yellow on the top of your camera screen. If you want to activate night mode manually, simply:
- Open the camera app
- Tap the ^ icon at the top of your screen
- Select the crescent moon icon
- That’s it!
It’s important to note: photos take longer to capture when in night mode so it’s important to keep your subject still–even if that means you and your friends have to hold that ridiculous fake candid pose for just a bit longer.
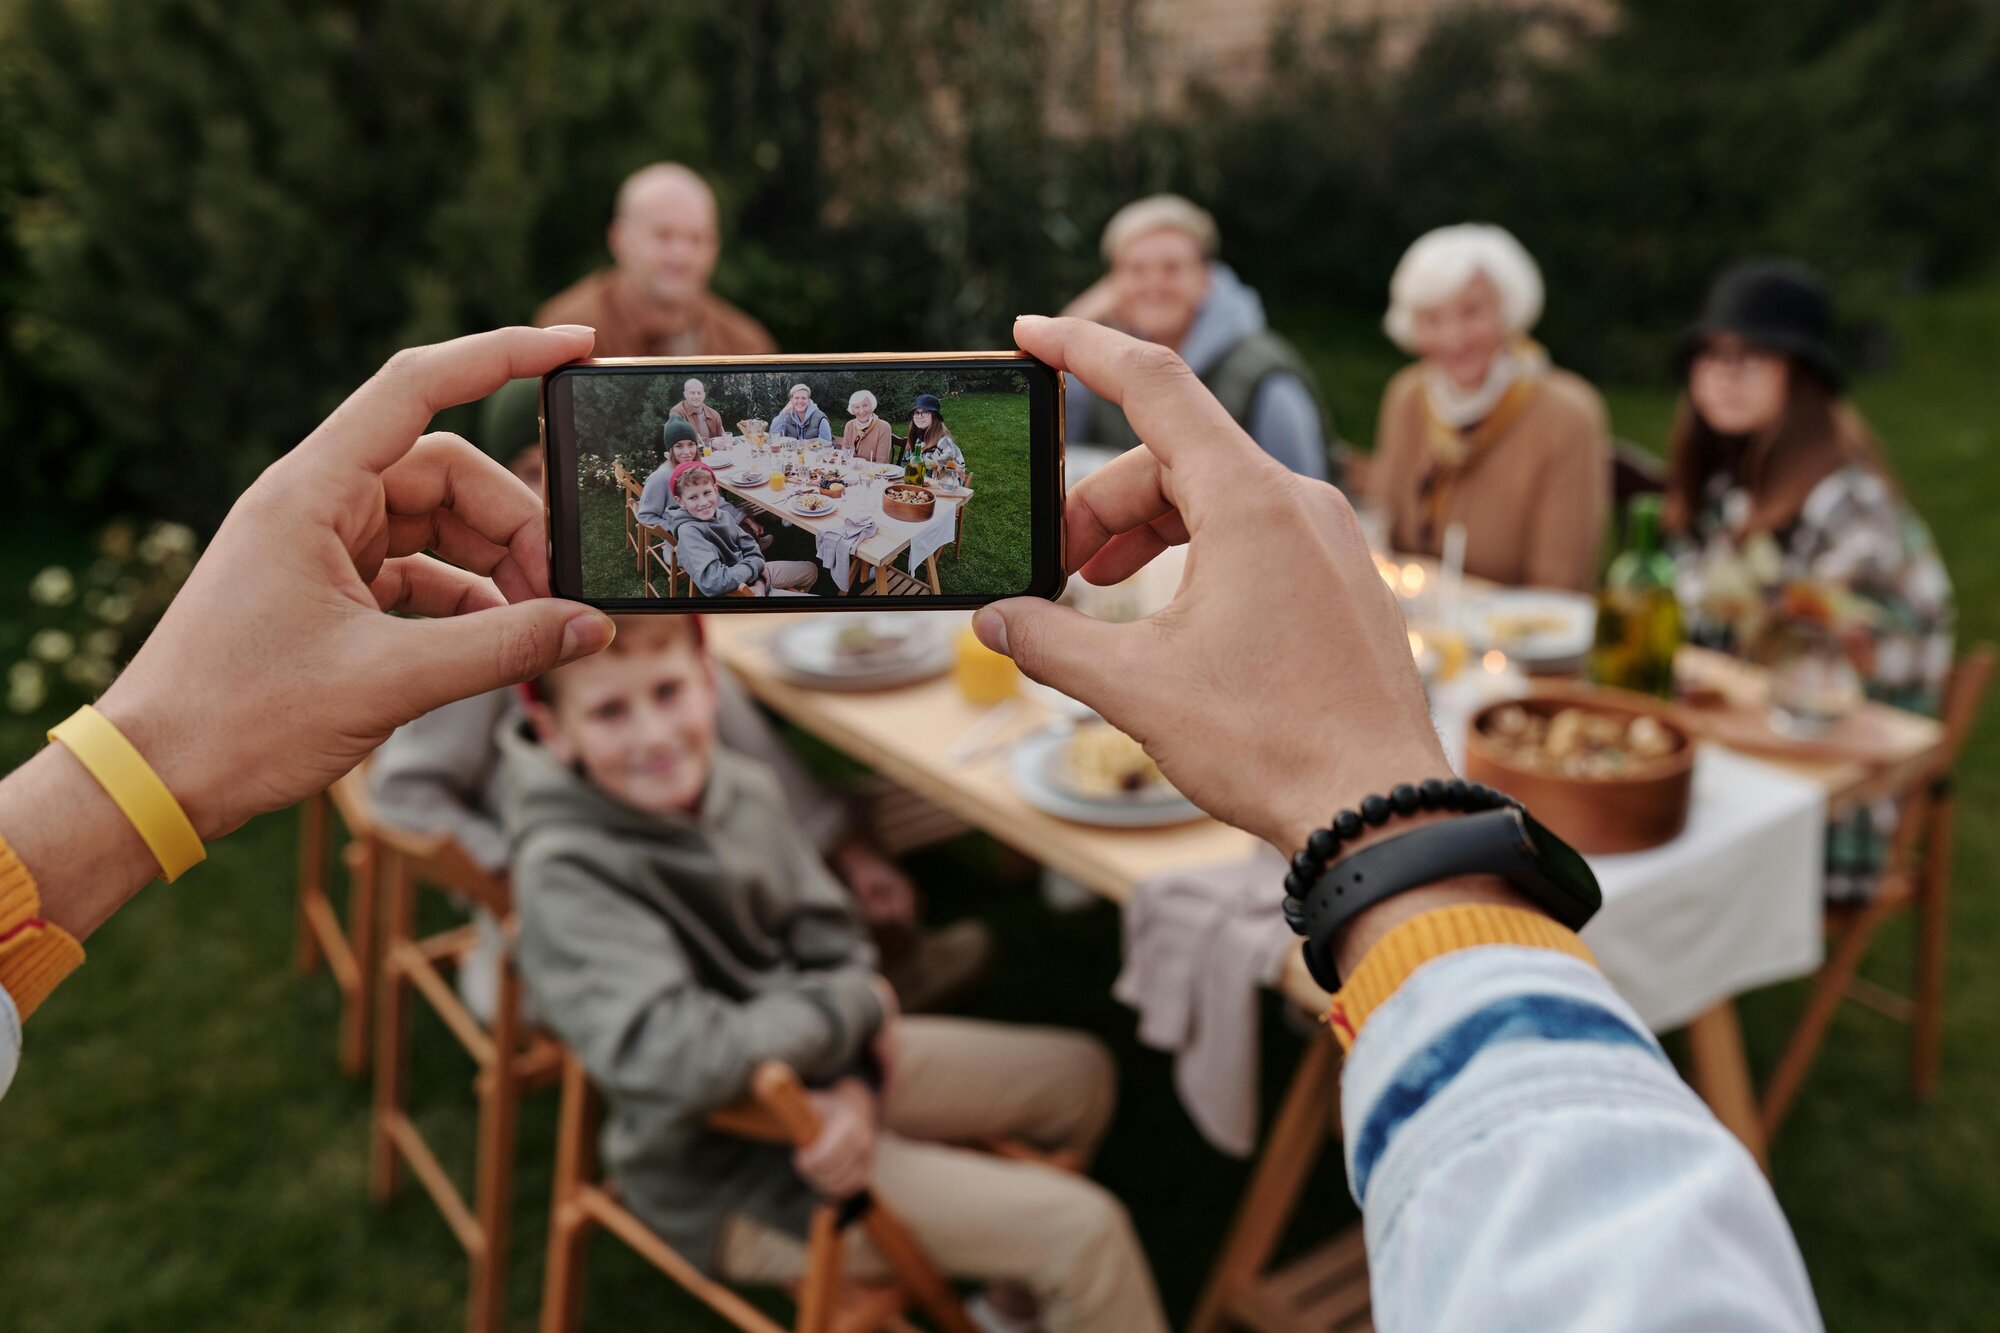
Group Photos Made Easy
After you’ve set your self timer, it’s time to make a mad dash into the frame. But first, here are some helpful tips that may make your group photos a bit easier to capture:
- Find your frame by playing with distance and grouping your subject together
- Make sure there’s enough space for you to squeeze in too!
- Place your phone on a steady surface
- Turn the timer on and run
- Strike a pose and review your photo
Here’s a pro tip: Having a tripod and a remote that links to your phone via bluetooth can be a life changer for group photos, or any self timer photos. They don’t have to be fancy, they can just be like this one from Amazon.
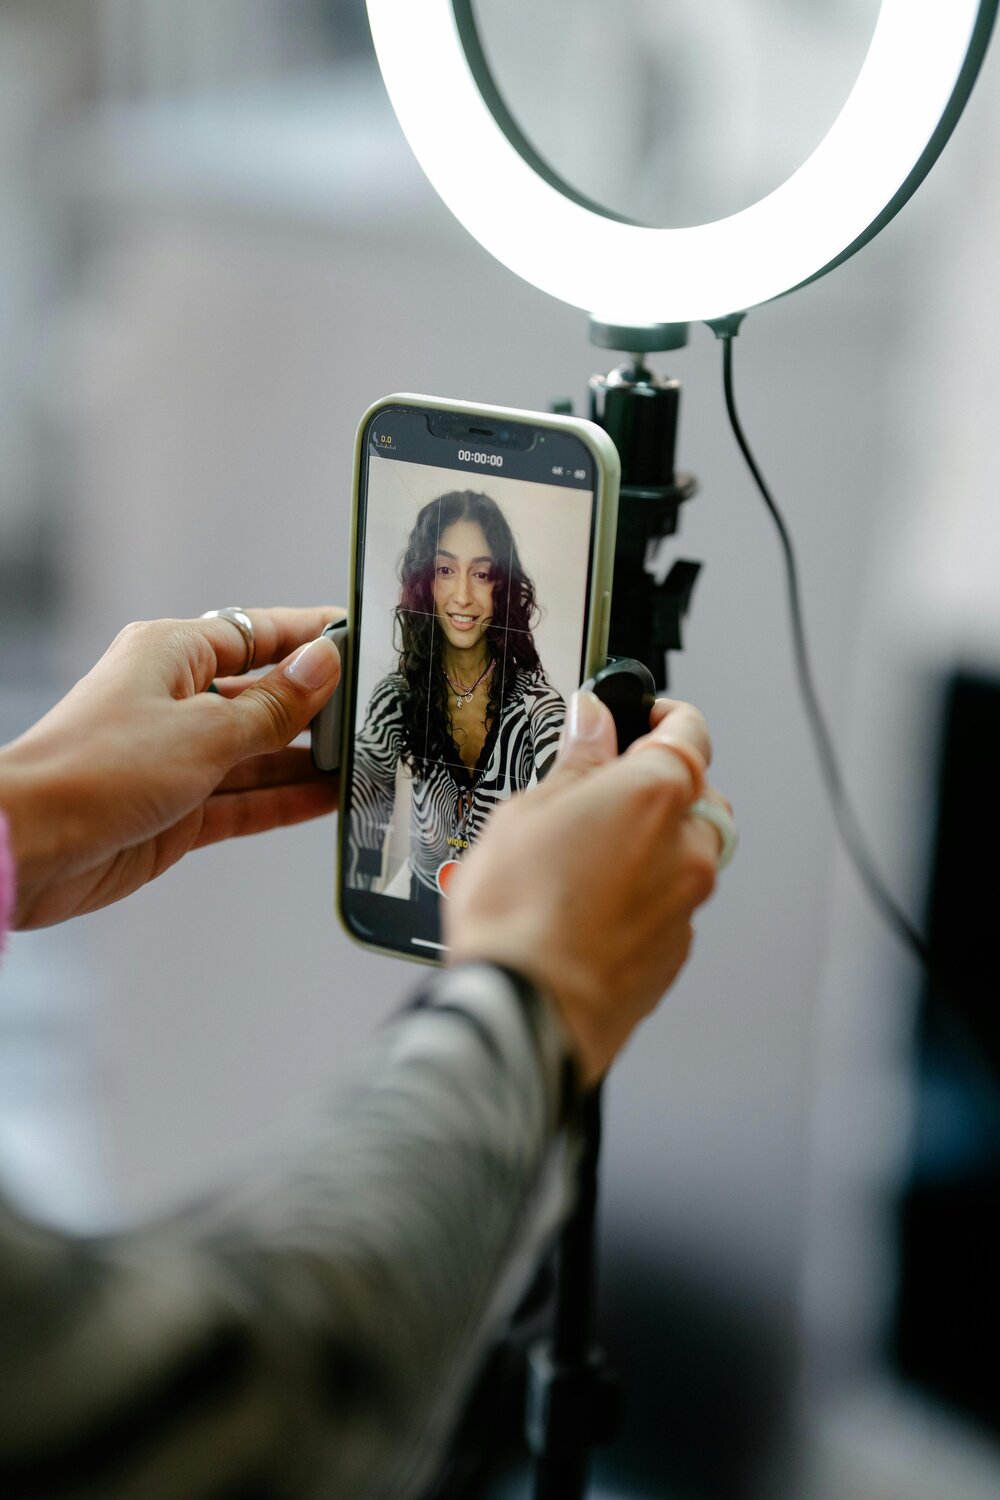
More Tips on How to Do a Timed Photo
- Use gridlines to compose the perfect, leveled frame. To turn the gridlines on, tap settings, camera, and toggle grid on. You can also adjust the photo after you’ve taken it with these editing tips
- Once your gridlines are turned on, use the rule of thirds to frame your subject. This means, make sure whatever you’re photographing is along the lines are at the intersections
- If you’re struggling with a moving subject (like trying to pose a toddler or dog) consider skipping the self timer and taking a video instead. This way you can screen grab the perfect moment from the video
The iPhone Photo Timer, Your Ultimate Photography Ally
Congratulations, you've made it through iPhone photo timer 101! Armed with the knowledge of how to use each feature, from the group photo mode to the delayed photo timer, you're now a force to be reckoned with in the world of photography.
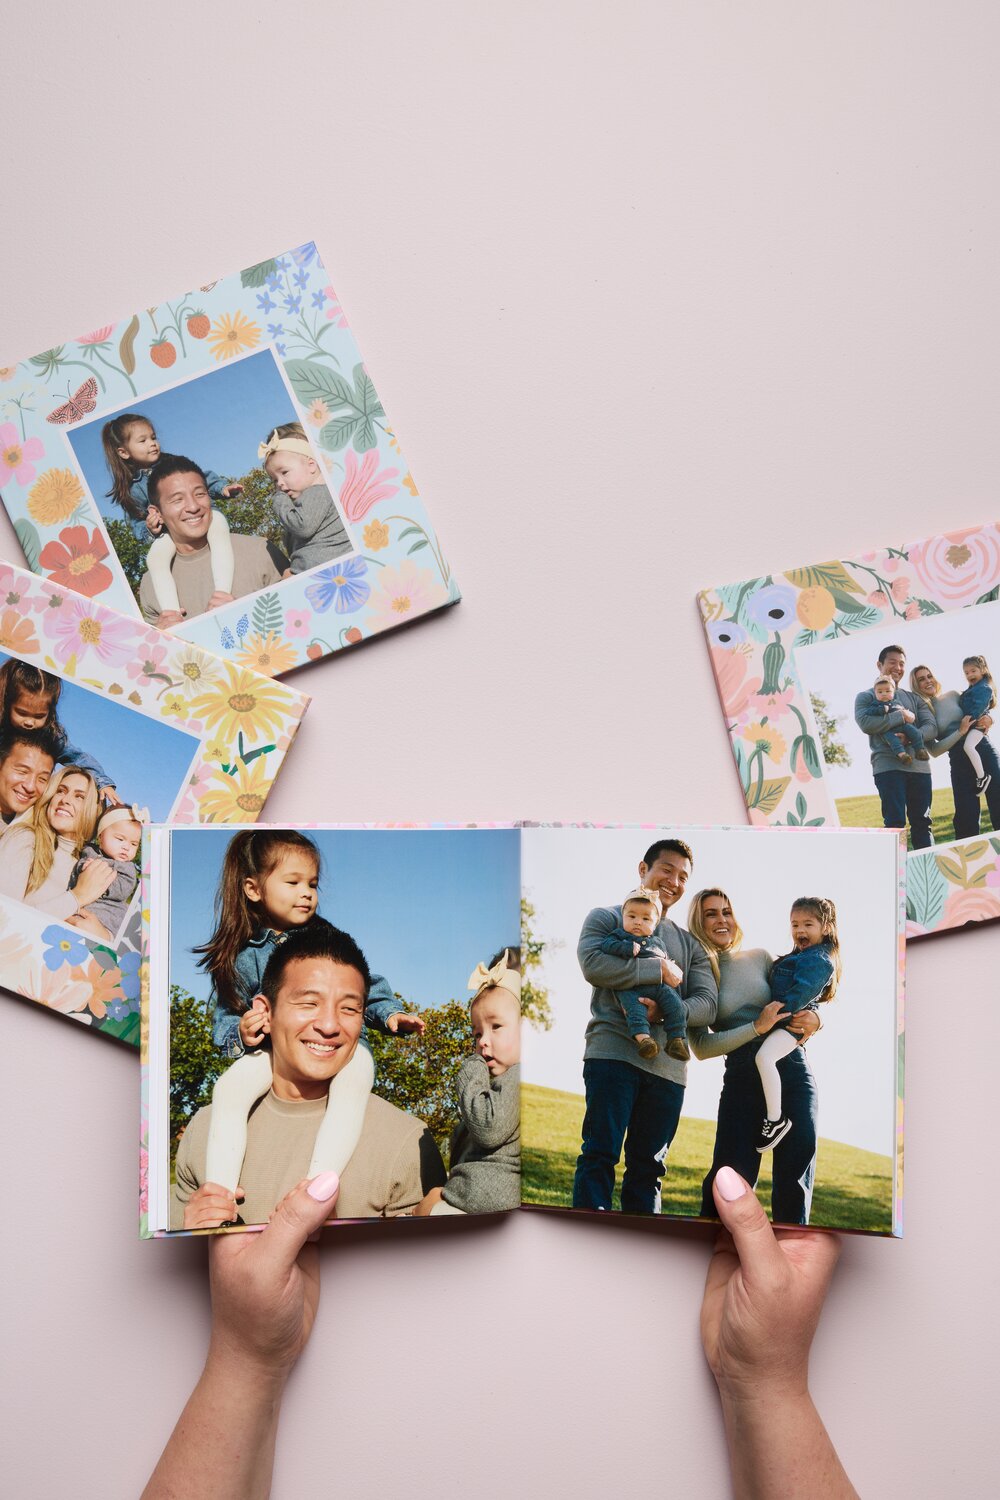
Use these tips to capture the perfect family photos that actually have you in it. Capture and print these photos with photo books or photo prints that you can show off in a gallery wall. Remember, the timer on an iPhone camera is not just a tool—it's your ally in creating picture-perfect memories.