FREE STANDARD SHIPPING, ALWAYS
How to DIY a Family Photo Shoot in Less Than 10 Minutes
Published 11/1/19

Chatbooks Ideas
You probably take dozens of photos of your kids every day. (Isn’t that what smartphones were made for?) But when’s the last time you snapped a picture of the entire family?
Maybe you get family photographs taken once or twice a year. But professional photo shoots aren’t always a realistic (or affordable) option, especially for those of us who find that our nights and weekends are booked solid with soccer games and birthday parties.
So as the holiday season approaches, how can you capture quality, gift-worthy photos of your family without booking a professional photographer?
Do it yourself.
Really, it’s easier than you think—and takes less than ten minutes (because, we know you have things to do). We’ve broken it down minute-by-minute to show you how.
Prep Work

In the spirit of a speedy, fuss-free photo shoot, we’ll keep the preparation to a minimum. However, thinking about a few things ahead of time will pay off in higher quality photos.
Choose a location.
Natural light tends to produce the best photos. Typically, that means choosing an outdoor location—like your backyard or a nearby park. However, a living room flooded with daytime light can also work well (especially in front of some festive holiday decor!).
Select a time.
Bright, direct sunlight can result in harsh shadows and squinty eyes. To avoid that, aim for the morning or dusk, when the light is softer. If you do choose the afternoon, position your family in a shady spot or wait for some cloud cover.
Collect your gear.
Have a DSLR camera? Great! Have an iPhone? Totally works, too. You simply need a camera with a timer (or a remote control shutter release, if you prefer), and a way to prop it up, whether that’s a tripod or a chair and a stack of books. (Tip: On the iPhone, go to your photo app and look for the little timer icon at the top of the screen. It’ll give you a very helpful three- or ten-second countdown! For any other camera, a quick search on YouTube should give you the instructions you need.)
Dress the family.
You can spend a lot of time coordinating picture-perfect outfits for a family photo shoot—but you really don’t need to. If you don’t want to comb through every family member’s closet, simply choose three to five colors and have everyone wear something in those shades. Keep accessories to a minimum, avoid anything with a logo, and choose classic, rather than trendy, pieces.
Now, you’re ready to get started!
Your 10-Minute Photo Shoot Plan

Your 10-Minute Photo Shoot Plan
Minute 1: Get in Position
Gather your family in your pre-selected location, making sure there’s nothing distracting in the background and angling everyone so they face the light. Avoid backlit photos—with the light directly behind you—unless you have editing software and know how to use it.
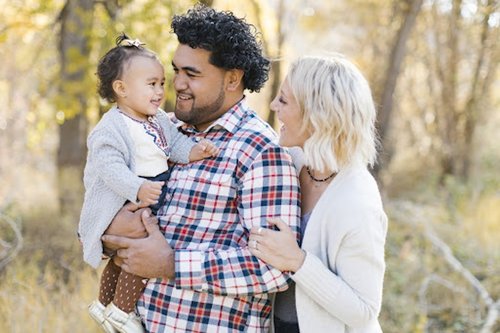
Instruct everyone to get close to each other (too much space between people can look awkward), but not in a straight line. To add visual interest, make sure to incorporate different levels and heights. For example, you might have you and your spouse or the teens sit with little kids on their laps and older kids standing behind or next to them. From there, hold hands, lean into one another, or put your hand on someone’s shoulder—basically, remember that you love each other.
Minutes 2-3: Set Up and Adjust
Set up your camera on your tripod (or chair, table, or other platform), and make sure everyone fits in the frame—leaving a space for you, of course. Take a test picture to make sure you like the angle and lighting. “You want the camera to be set at eye level or above eye level and pointed slightly down,” says photographer Robin Angell. “Avoid lower-angled shots that capture what’s up everyone’s noses.”
If you aren’t using a remote shutter release, set your camera to burst mode (note: on iPhone, burst mode is automatically enabled when you use the timer), so that each time you set the timer, the camera will take several pictures, rather than just one.
Minutes 4-5: Take the Formal Shots
Set your timer (or get your remote shutter release ready), join your family in front of the camera, and ask everyone to smile. Repeat a few times, so you have plenty of images to choose from. For additional options, rearrange your grouping between shots. Robin’s pro tip: “Whisper something to your kids that will make them smile—for example, talk in the voice of their favorite TV character, or tell them that you’re taking them to the park tomorrow.” You’ll avoid a forced smile and get a natural, genuine grin.
Minutes 6-7: Switch It Up
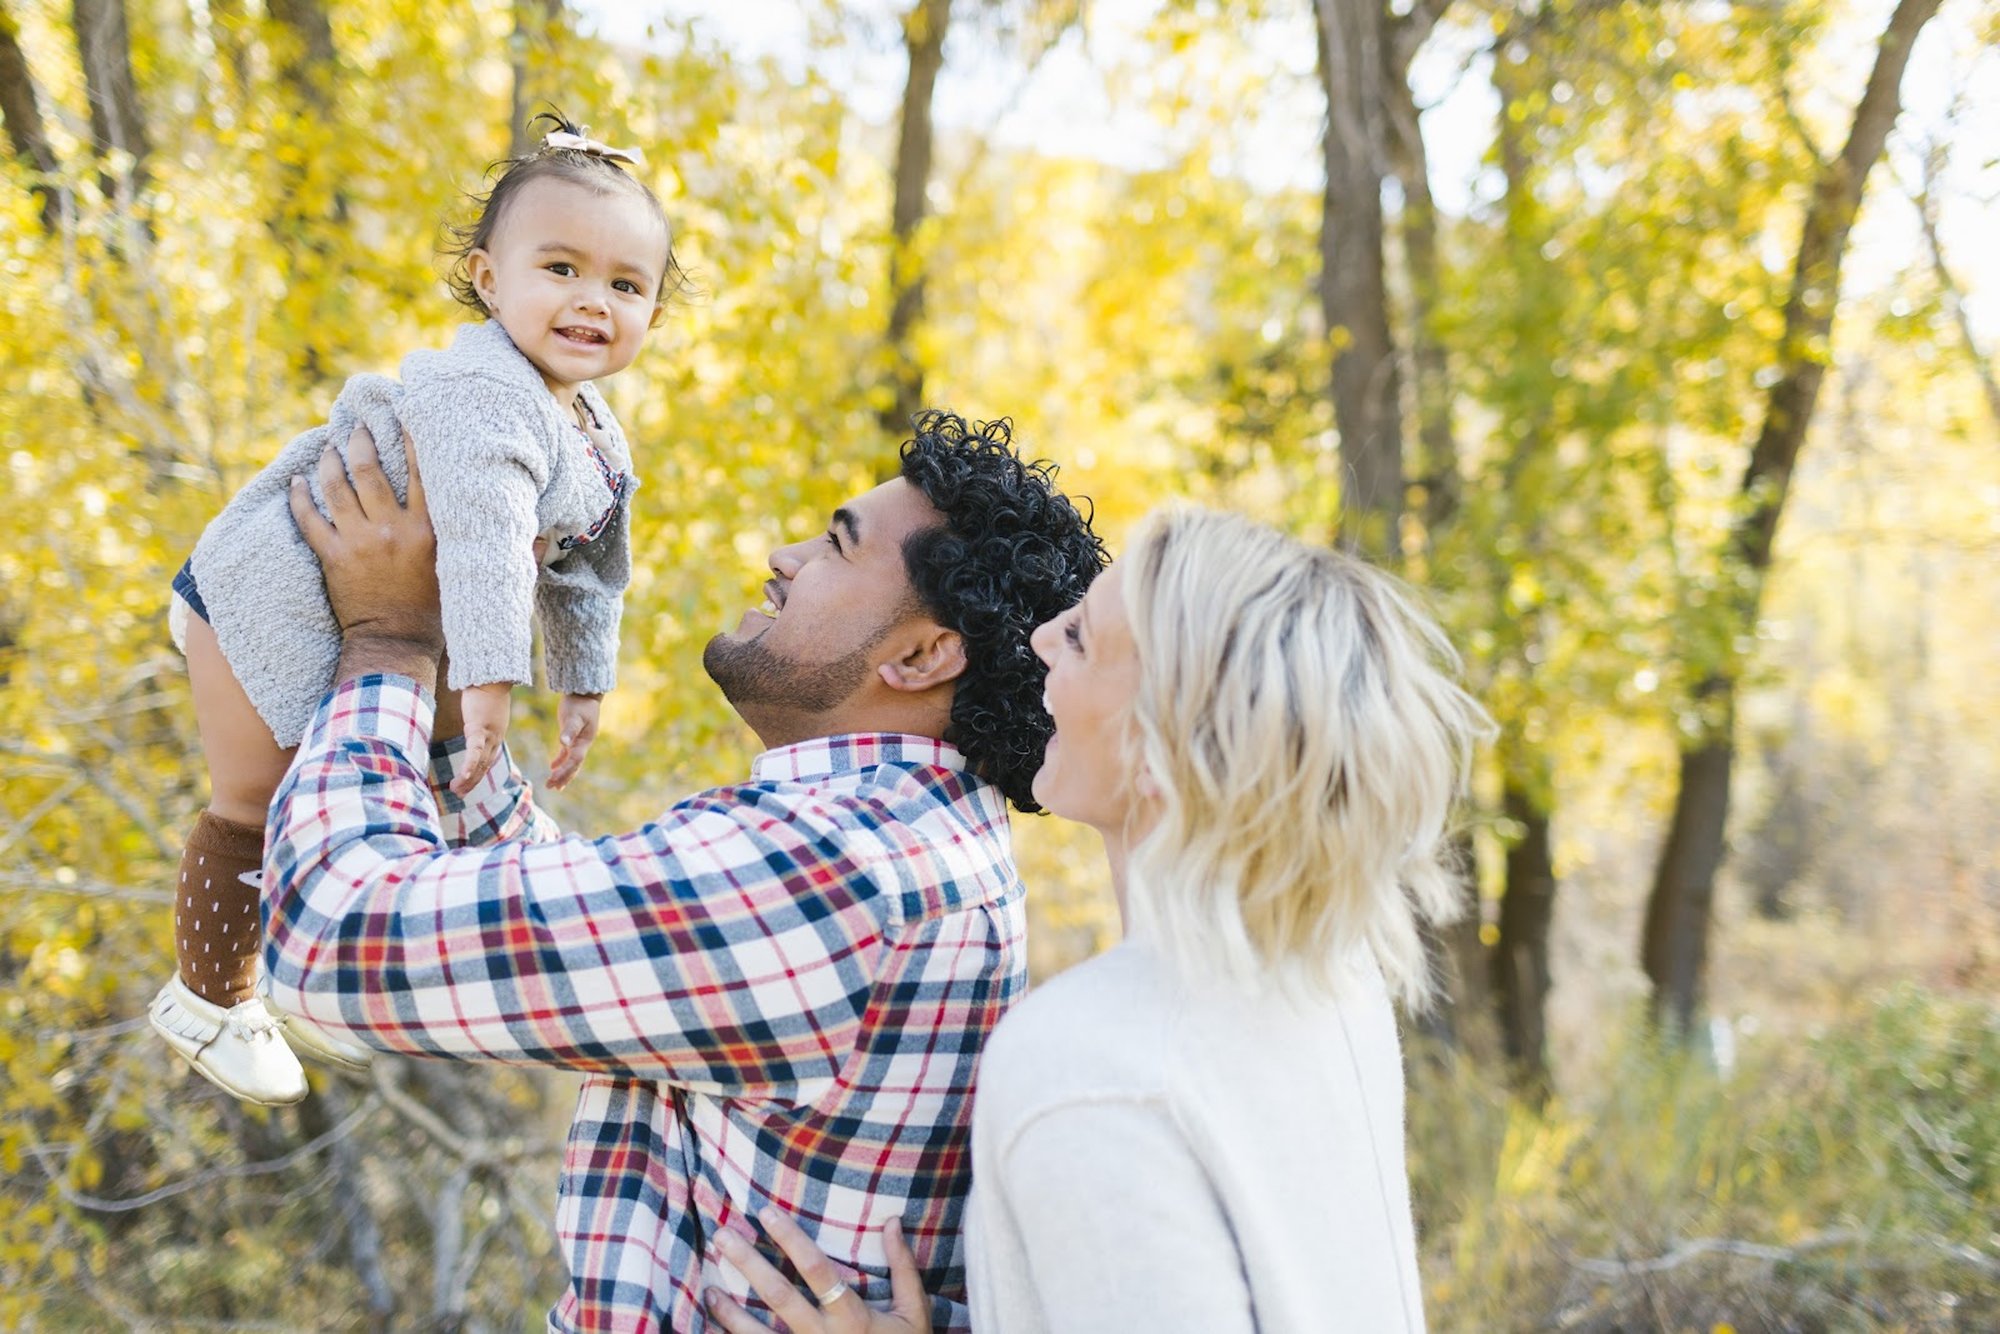
In addition to the more formal pictures, make sure to get a couple of candid photos that capture your family in all its goofy, giggly glory. “Good photographs evoke emotion and bring you back to a moment in time to sweetly relive,” says Robin. “It might not feel picture perfect in that moment, but one day that will be a cherished photograph.”
To get those shots, start by offering up some commands like “Look at Dad!” or “Everyone fake laugh”—which usually results in everyone actually laughing. “Tickle each other, make monkey noises, hug each other,” suggests Robin. “Spin your child around, and stop when he or she is facing the camera. You get the biggest smiles when your kids are genuinely living in the moment.”
Minutes 8-10: Narrow It Down
Once you capture the entire family together, you might want a few shots of just the kids, or just you and your significant other (after all, it’s nice to remember how the family began). For each grouping, make sure to get a couple of different shots—both posed and candid.
That’s it! In just ten minutes, you’ll have dozens, if not hundreds, of photos to choose from: perfect for holiday cards, gifts, or personal mementos.
Want more tips and tricks for your busy family? Join the Chatbooks #MomForce community on Facebook.